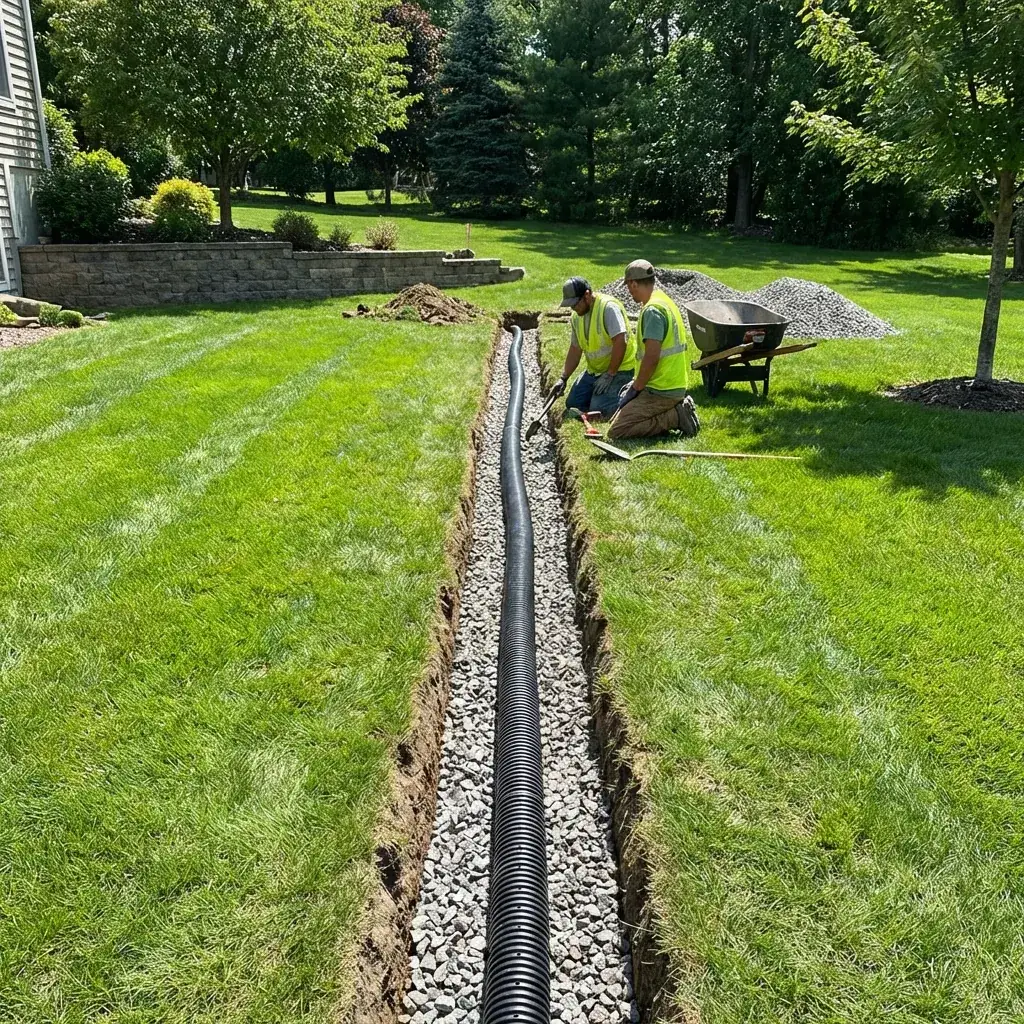
Why Proper Installation Matters in Boise
Idaho’s Treasure Valley presents unique challenges that cause many DIY drains (and some contractor-installed drains) to fail:
Silty Soil: Fine particles clog drains without proper filter fabric
Hardpan Layer: Calcium deposits require heavy equipment to penetrate
Flat Lots: Many properties have insufficient natural slope
High Water Table: Drains must handle significantly more volume during irrigation season
A properly installed French drain lasts 30+ years. A badly installed one fails in 3-5.
The Essential Components
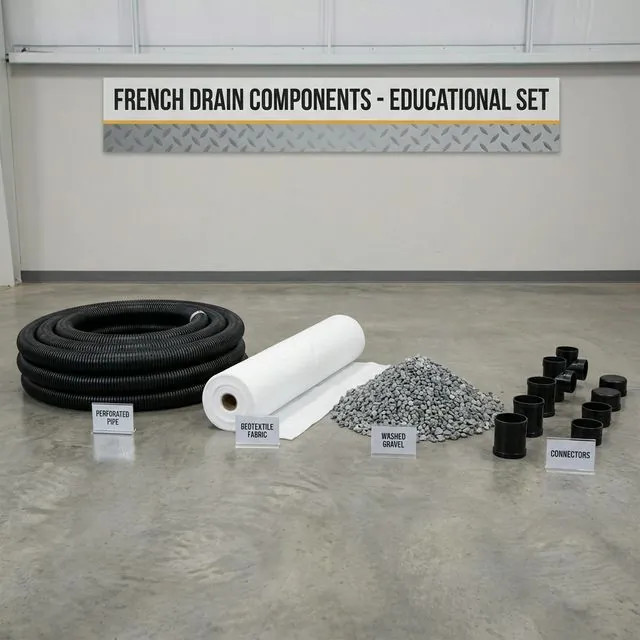
Every French drain needs these four elements. Skimping on any of them leads to failure:
1. Perforated Pipe
Use: Rigid 4-inch Schedule 40 PVC with drilled holes facing down
Don’t Use: Flexible corrugated “Big O” pipe—it crushes under soil weight
Why It Matters: Rigid pipe maintains its shape for decades. Holes face down because water rises INTO the pipe from below.
2. Washed Drain Rock
Use: 1-inch washed gravel with minimal fines
Don’t Use: Road base, crusher run, or “bank run” gravel with dirt mixed in
Why It Matters: Clean rock has void space for water. Dirty rock clogs immediately.
3. Geotextile Filter Fabric
Use: Non-woven landscape fabric rated for drainage (4 oz/sq yard minimum)
Don’t Use: Woven weed barrier or cheap “landscape fabric”
Why It Matters: Non-woven fabric lets water through but blocks silt. Woven fabric CLOGS.
4. Proper Slope
Required: 1% minimum grade (1 inch drop per 8 feet of run)
Tool: Laser level—not eyeballing or a bubble level
Why It Matters: Water doesn’t flow uphill. Even small dips create ponding points.
Step-by-Step Installation
Step 1: Plan the Drain Path
Before digging, determine:
Where water is coming FROM (uphill side)
Where water will go TO (discharge point)
Any obstacles (utilities, trees, concrete)
Call Idaho 811 for utility marking (required by law)
Step 2: Excavate the Trench
Width: 12-18 inches
Depth: 18-24 inches typical; to footer depth for foundation drains
Slope: Verify with laser level at BOTH ends before proceeding
In Boise hardpan, you may need a jackhammer or compact excavator. Hand digging is grueling.
Step 3: Line with Fabric
Lay filter fabric along the entire trench—bottom and sides—with enough excess to wrap over the top later. Overlap seams by 12+ inches.
Step 4: Add Base Gravel
Pour 2-3 inches of washed drain rock. Smooth it to maintain proper slope.
Step 5: Lay the Pipe
Place the perforated pipe on the gravel bed with holes facing DOWN. Connect sections with proper fittings—don’t just push them together.
Step 6: Cover with Gravel
Add 6-8 more inches of drain rock, completely covering the pipe. Shake/settle the gravel with a rake.
Step 7: Wrap the Fabric (“Burrito Wrap”)
Fold the excess fabric over the gravel, overlapping generously. This completely encapsulates the drainage layer, protecting it from silt infiltration.
Step 8: Backfill and Compact
Fill the remaining trench with excavated soil in 6-inch layers, compacting each layer to prevent settling.
Common DIY Mistakes
We repair failed drains all the time. Here’s what usually went wrong:
No slope or negative slope: Water pools instead of draining. Must verify with laser level.
Wrong fabric (or no fabric): Drain clogs with silt in 2-5 years.
Corrugated pipe: Crushes under soil pressure, especially in heavy clay.
Holes pointing up: Water must RISE into the pipe from below, so holes go DOWN.
Dirty gravel: “Road base” contains fines that clog instantly.
No discharge point: Drain must go SOMEWHERE—can’t just end in the yard.